# ssh密钥设置登录
# 1. 创建密钥对ssh-keygen
ssh-keygen -t rsa -m pem -b 4096
[root@localhost]ssh-keygen -t rsa -m pem -b 4096
Generating public/private rsa key pair.
Enter file in which to save the key (/root/.ssh/id_rsa): id_rsa_test_nopwd
Enter passphrase (empty for no passphrase):
Enter same passphrase again:
Your identification has been saved in id_rsa_test_nopwd.
Your public key has been saved in id_rsa_test_nopwd.pub.
The key fingerprint is:
SHA256:t+BES2ubyEnM8eFWEdzin5qBGsznXbrwT1Dem6x2wuU root@localhost
The key's randomart image is:
+---[RSA 4096]----+
|         .oo     |
|          o.+    |
|      . +o.* .   |
|     o *o== . .  |
|     .+oS+.+ o o |
|     o+Bo=+.+ =  |
|     .+o+ .B +   |
|      .   o * E  |
|           . o   |
+----[SHA256]-----+
ssh-keygen可用的参数选项
-a trials在使用-T对DH-GEX候选素数进行安全筛选时需要执行的基本测试数量。-b bits指定密钥长度-m pem格式,
# 2. 在服务器上安装公钥
- 把公钥
id_rsa_test_nopwd.pub放到/home/${username}/.ssh目录下。
如果是root用户,则home目录是
/root,即是放到root/.ssh目录下。还可以使用
ssh_copy_id上传到服务器:ssh_copy_id -i /root/.ssh/id_rsa_test_nopwd.pub root@192.168.2.5 -p 3222
设置
authorized_keys文件进入到
/home/${username}/.ssh目录下,如果没有authorized_keys文件则生成并设置权限600,然后再把id_rsa_test_nopwd.pub内容追加到里面。touch authorized_keys #新增authorized_keys文件,有则略过。 chmod 600 authorized_keys cat id_rsa_test_nopwd.pub >> authorized_keys #把公钥的内容追加到authorized_keys文件里。
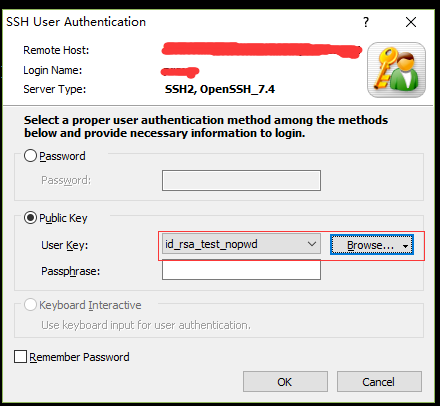
# 3. 在客户端使用私钥登录
linux系统
ssh root@192.168.2.5 -p 3222 -i /root/.ssh/id_rsa_test_nopwdwindows系统
# 4.禁用密码登录
修改/etc/ssh/sshd_config
#禁用密码验证
PasswordAuthentication no
#启用密钥验证
PubkeyAuthentication yes
重启ssh服务
systemctl restart sshd #centos系统
service ssh restart #ubuntu系统
/etc/init.d/ssh restart #debian系统
# 5.限制用户 ssh登录
修改/etc/ssh/sshd_config设置AllowUsers选项
AllowUsers    soul0328 test@192.168.1.1
# 允许 soul0328 和从 192.168.1.1 登录的 test 帐户通过 SSH 登录系统。
修改/etc/ssh/sshd_config设置DenyUsers选项
DenyUsers    soul0328 test    #Linux系统账户
# 拒绝soul0328 test帐户通过 SSH 登录系统
重启SSH
service sshd restart
6.允许/限制IP SSH登录
修改/etc/hosts.allow,添加内容
sshd:192.168.0.1:allow  #允许 192.168.0.1 这个IP地址SSH登录
sshd:192.168.0.:allow #允许192.168.0.1/24这段IP地址的用户登录,多个网段可以以逗号隔开,比如192.168.0.,192.168.1.:allow
修改/etc/hosts.allow,添加内容
sshd:ALL #允许全部的ssh登录修改/etc/hosts.deny,添加内容
sshd:ALL #拒绝全部IP
注意:有时xshell导入private key出错 ,可能是密钥类型的问题,openssh与rsa开头的可以通过以下方式转换
将
-----BEGIN OPENSSH PRIVATE KEY-----转换成-----BEGIN RSA PRIVATE KEY-----ssh-genkey -p -m pem -f id_rsa
← ss+privoxy代理配置 sudo权限 →